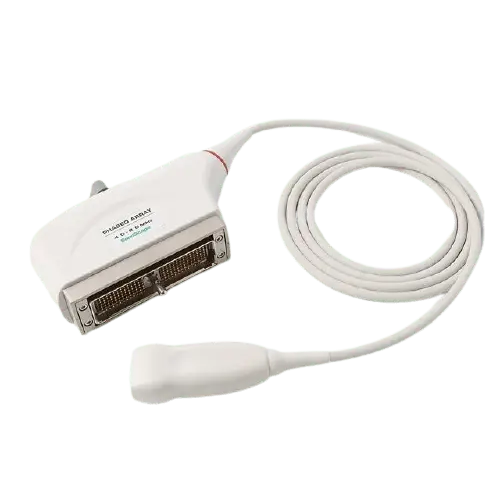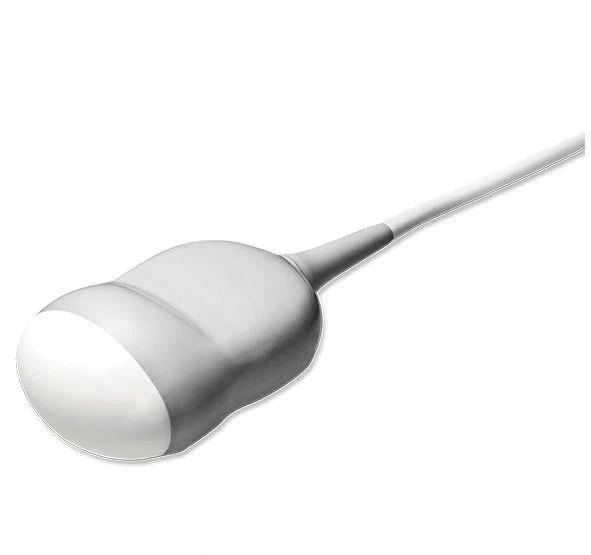
This page covers the Samsung VE4-8 from a repair perspective: the failure modes we see on this class of probe, how to check the probe yourself, and what information gets you an accurate repair quote.
| Manufacturer | Samsung |
|---|---|
| Model | VE4-8 |
| Probe type | Convex array |
| Compatible systems | Samsung H60 |
The VE4-8 typically pairs with Samsung H60; the same fault can present differently between console revisions, which is why the host system is asked for with the quote details.
On convex probes such as the VE4-8, the curved acoustic window wears unevenly under pressure-heavy scanning; lens condition is the first thing to check when image quality drops.
Common failure modes for the VE4-8
Match what you are seeing against the table below. The right-hand column reflects how faults of this kind typically assess – the actual verdict always depends on the individual probe.
| What you see | Likely cause | Typically repairable? |
|---|---|---|
| Cuts, gouges or discoloration on the lens membrane | Mechanical wear or disinfectant damage to the lens | Usually repairable |
| Bent, broken or corroded connector pins | Connector damage from forced insertion or drops | Usually repairable |
| Grainy, low-detail image even after presets are checked | A worn lens surface or elements beginning to degrade | Case by case |
| Latch or locking hardware damaged on the connector shell | Mechanical damage to the connector shell | Usually repairable |
| Whole regions of the image blank across the array width | Extensive element loss across the acoustic stack | Usually not economical |
| Outer cable sheath showing cracks, kinks or staining | Surface jacket wear – the conductors inside are often still good | Usually repairable |
| Strain relief separated, split or stiff | Cable flex fatigue at the probe or connector end | Usually repairable |
Check these before you ship the probe
- Examine the connector for bent or corroded pins, cracks and a working locking mechanism.
- Flex the cable gently along its length while imaging – intermittent dropout points to broken conductors.
- Photograph the complete manufacturer label – the exact revision matters for parts compatibility.
- Run the system’s built-in probe test or element check if your console provides one.
- Compare penetration and uniformity against a known-good probe on the same preset.
Repair, exchange or replace — which applies to your VE4-8
For the VE4-8, think in terms of damage depth: surface and cable-level faults are usually repairable at a fraction of replacement cost; acoustic stack failures are evaluated case by case; extensive element loss generally means replacement. Send the symptoms and photos first – that determines the path before anything ships.
What we need to quote your VE4-8 repair
- A clear photo of the complete manufacturer and model label on the probe
- A description of the fault: what you see on screen and when it started
- The ultrasound system (console) the probe is used with
- Screenshots or photos of the image problem, if the fault is visual
- Photos of any physical damage – lens, housing, cable or connector
Images shown are representative and are not photographs of an individual unit. Nothing on this page claims OEM authorization or guarantees universal fit. Whether a specific VE4-8 can be repaired, and on what terms, is confirmed in writing once the probe has been assessed.