
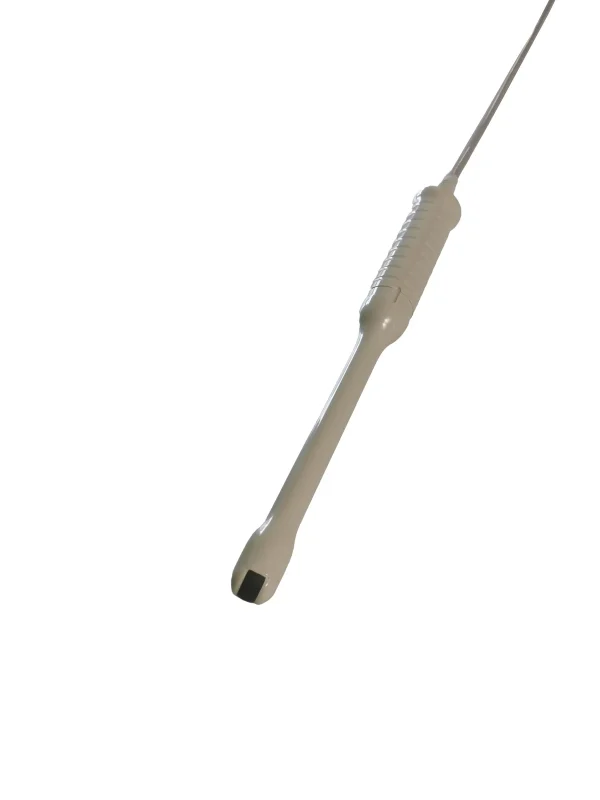
If your Hitachi Aloka UST-9118 is producing degraded images, failing probe tests or showing physical damage, this page helps you judge what is likely wrong and whether a repair makes sense before you commit to a replacement.
| Manufacturer | Hitachi Aloka |
|---|---|
| Model | UST-9118 |
| Probe type | Endocavity array |
| Compatible systems | Aloka SSD-3500 |
The UST-9118 typically pairs with Aloka SSD-3500; the same fault can present differently between console revisions, which is why the host system is asked for with the quote details.
For endocavity heads such as the UST-9118, reprocessing chemistry is the main enemy – seal integrity and lens condition decide service life more than the electronics do.
Common failure modes for the UST-9118
Match what you are seeing against the table below. The right-hand column reflects how faults of this kind typically assess – the actual verdict always depends on the individual probe.
| What you see | Likely cause | Typically repairable? |
|---|---|---|
| Cable jacket cracked, wrinkled or discolored | Jacket wear; conductors may still be intact underneath | Usually repairable |
| Connector lock broken or hardware missing | Broken locking mechanics on the connector housing | Usually repairable |
| Bubbles or lifting at the lens face | The lens separating from the acoustic stack underneath | Usually repairable |
| Strain relief separated, split or stiff | Flex fatigue where the cable meets the probe or connector | Usually repairable |
| Large areas of the array not firing | Widespread element or acoustic stack failure | Usually not economical |
| Vertical shadowing or missing scan lines on screen | Element dropout, or a conductor break inside the cable | Case by case |
| Bent, broken or corroded connector pins | Mechanical damage from forcing or dropping the connector | Usually repairable |
| Fluid found inside the probe head after a leak test | Seal failure allowing disinfectant ingress | Case by case |
| Failed electrical leakage test | Compromised sealing on an endocavity probe | Case by case |
Check these before you ship the probe
- Flex the cable gently along its length while imaging – intermittent dropout points to broken conductors.
- Inspect the lens face under good light for cuts, bubbles, lifting edges or discoloration.
- Check the strain reliefs at both ends for splits, stiffness or separation from the cable.
- Compare penetration and uniformity against a known-good probe on the same preset.
- Run the system’s built-in probe test or element check if your console provides one.
- Have the probe leak-tested before further use – fluid ingress worsens quickly and creates a patient-safety issue.
Repair, exchange or replace — which applies to your UST-9118
For the UST-9118, think in terms of damage depth: surface and cable-level faults are usually repairable at a fraction of replacement cost; acoustic stack failures are evaluated case by case; extensive element loss generally means replacement. Send the symptoms and photos first – that determines the path before anything ships.
What we need to quote your UST-9118 repair
- A clear photo of the complete manufacturer and model label on the probe
- A description of the fault: what you see on screen and when it started
- The ultrasound system (console) the probe is used with
- Screenshots or photos of the image problem, if the fault is visual
- Photos of any physical damage – lens, housing, cable or connector
Images shown are representative and are not photographs of an individual unit. Nothing on this page claims OEM authorization or guarantees universal fit. Whether a specific UST-9118 can be repaired, and on what terms, is confirmed in writing once the probe has been assessed.


