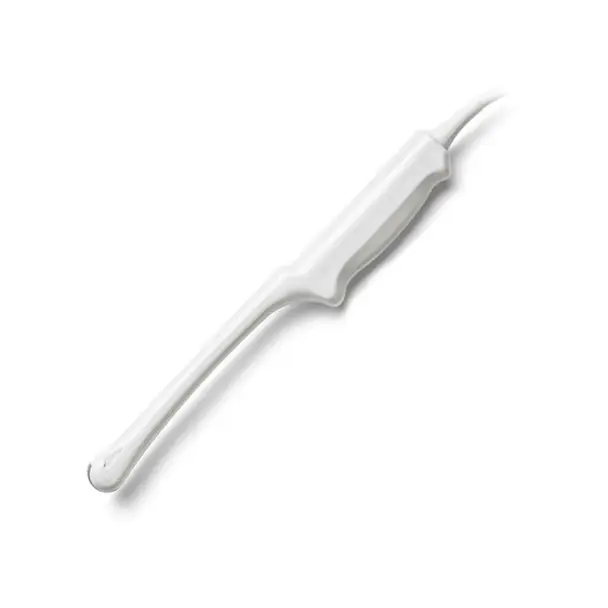
If your Sonosite SLA/13-6 is producing degraded images, failing probe tests or showing physical damage, this page helps you judge what is likely wrong and whether a repair makes sense before you commit to a replacement.
| Manufacturer | Sonosite |
|---|---|
| Model | SLA/13-6 |
| Probe type | Linear array |
| Compatible systems | SonoSite MicroMaxx |
In service the SLA/13-6 is most often found on SonoSite MicroMaxx. Console-side settings and module revisions still vary, so the exact system build is part of any assessment.
On linear probes such as the SLA/13-6, superficial imaging workloads put steady stress on the lens membrane and strain relief; the element electronics tend to outlast the mechanical parts.
Common failure modes for the SLA/13-6
Match what you are seeing against the table below. The right-hand column reflects how faults of this kind typically assess – the actual verdict always depends on the individual probe.
| What you see | Likely cause | Typically repairable? |
|---|---|---|
| Cable jacket cracked, wrinkled or discolored | Jacket wear; conductors may still be intact underneath | Usually repairable |
| Latch or locking hardware damaged on the connector shell | Broken locking mechanics on the connector housing | Usually repairable |
| Split seams or impact marks on the probe body | Impact damage; housing can usually be replaced or resealed | Usually repairable |
| Whole regions of the image blank across the array width | Widespread element or acoustic stack failure | Usually not economical |
| Depth performance clearly below what this probe used to deliver | Reduced acoustic output from element ageing or a delaminating lens | Case by case |
| Image cuts out when the cable is flexed | Broken internal conductors in the cable | Case by case |
| Bent, broken or corroded connector pins | Mechanical damage from forcing or dropping the connector | Usually repairable |
Check these before you ship the probe
- Check the strain reliefs at both ends for splits, stiffness or separation from the cable.
- Compare penetration and uniformity against a known-good probe on the same preset.
- Photograph the complete manufacturer label – the exact revision matters for parts compatibility.
- Flex the cable gently along its length while imaging – intermittent dropout points to broken conductors.
- Inspect the lens face under good light for cuts, bubbles, lifting edges or discoloration.
Repair, exchange or replace — which applies to your SLA/13-6
Three paths apply to a failing SLA/13-6: repair (typical for lens, housing, cable and connector damage), exchange (fastest route back to scanning) or replacement (when the acoustic stack is too far gone). The deciding factors are how much of the array still fires, whether the housing is intact and what downtime costs you. Each probe is judged on its actual condition.
What we need to quote your SLA/13-6 repair
- A clear photo of the complete manufacturer and model label on the probe
- A description of the fault: what you see on screen and when it started
- The ultrasound system (console) the probe is used with
- Screenshots or photos of the image problem, if the fault is visual
- Photos of any physical damage – lens, housing, cable or connector
Product imagery on this page is representative of the SLA/13-6 probe family and is not a photograph of your specific unit. This page does not claim OEM authorization or universal compatibility. Repair feasibility, turnaround and commercial terms are confirmed in writing after assessment of the actual probe.