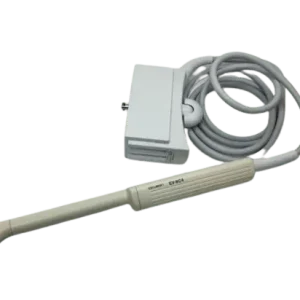
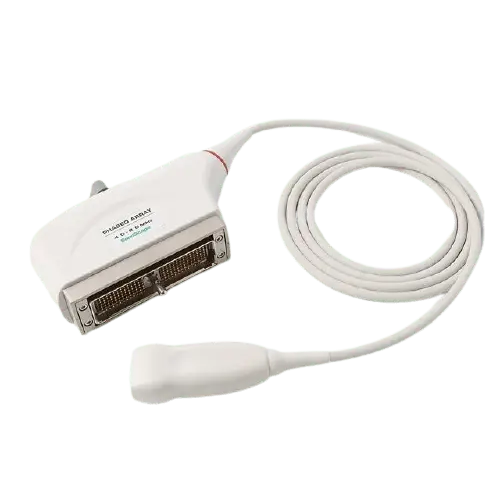
Use this reference to troubleshoot the Hitachi Aloka ASU-1009: identify the fault from what you see, judge whether it is typically repairable, and prepare the details needed for a quote.
| Manufacturer | Hitachi Aloka |
|---|---|
| Model | ASU-1009 |
| Probe type | Convex array |
| Compatible systems | Aloka ProSound Alpha 5, Aloka SSD-3500, Aloka SSD-4000 |
You will usually see the ASU-1009 running on Aloka ProSound Alpha 5, Aloka SSD-3500, Aloka SSD-4000. Mention the console model with the fault description – connector and revision differences matter.
Curved arrays like the ASU-1009 see heavy abdominal duty, and the curved lens face takes the brunt of it – delamination and membrane wear typically show up before element failures do.
Common failure modes for the ASU-1009
Match what you are seeing against the table below. The right-hand column reflects how faults of this kind typically assess – the actual verdict always depends on the individual probe.
| What you see | Likely cause | Typically repairable? |
|---|---|---|
| Image cuts out when the cable is flexed | Broken internal conductors in the cable | Case by case |
| Depth performance clearly below what this probe used to deliver | Reduced acoustic output from element ageing or a delaminating lens | Case by case |
| Visible nicks, grooves or staining on the lens surface | Wear from use, or chemical attack from disinfectants | Usually repairable |
| Whole regions of the image blank across the array width | Widespread element or acoustic stack failure | Usually not economical |
| Fuzzy or noisy image that cleaning does not fix | Lens wear or early element degradation | Case by case |
| Split seams or impact marks on the probe body | A drop or knock; housings are routinely replaced or resealed | Usually repairable |
| Strain relief pulling away from the cable or gone rigid | Cable flex fatigue at the probe or connector end | Usually repairable |
Check these before you ship the probe
- Photograph the complete manufacturer label – the exact revision matters for parts compatibility.
- Flex the cable gently along its length while imaging – intermittent dropout points to broken conductors.
- Check the strain reliefs at both ends for splits, stiffness or separation from the cable.
- Compare penetration and uniformity against a known-good probe on the same preset.
- Examine the connector for bent or corroded pins, cracks and a working locking mechanism.
Repair, exchange or replace — which applies to your ASU-1009
Repair suits the ASU-1009 when damage is mechanical or confined – lens membrane, strain relief, cable jacket, connector hardware. Once element dropout spreads across large sections of the array, repair cost climbs toward replacement value and stops making sense. If uptime is critical, ask about exchange options while your probe is assessed.
What we need to quote your ASU-1009 repair
- A clear photo of the complete manufacturer and model label on the probe
- A description of the fault: what you see on screen and when it started
- The ultrasound system (console) the probe is used with
- Screenshots or photos of the image problem, if the fault is visual
- Photos of any physical damage – lens, housing, cable or connector
Product imagery on this page is representative of the ASU-1009 probe family and is not a photograph of your specific unit. This page does not claim OEM authorization or universal compatibility. Repair feasibility, turnaround and commercial terms are confirmed in writing after assessment of the actual probe.