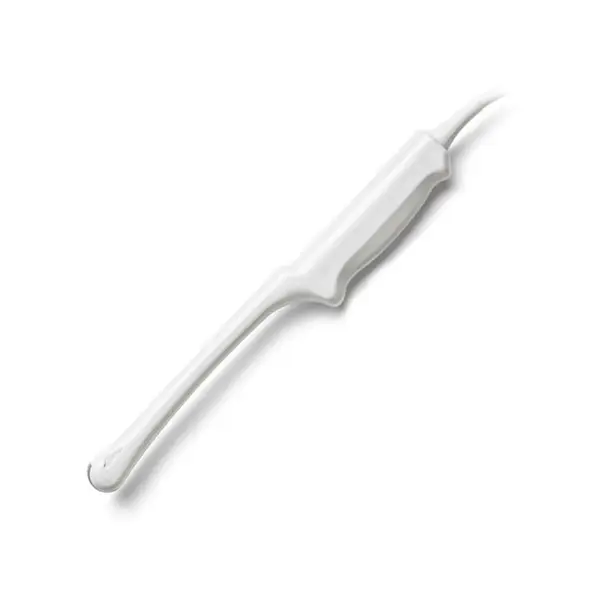
A failing Hitachi Aloka UST-9120 does not always mean buying a new probe. Use the fault table below to match what you are seeing on screen to a likely cause, then check what a repair assessment would need.
| Manufacturer | Hitachi Aloka |
|---|---|
| Model | UST-9120 |
| Probe type | Convex array |
| Compatible systems | Aloka ProSound Alpha 10, Aloka ProSound Alpha 5SX, Aloka ProSound Alpha 7 |
You will usually see the UST-9120 running on Aloka ProSound Alpha 10, Aloka ProSound Alpha 5SX, Aloka ProSound Alpha 7. Mention the console model with the fault description – connector and revision differences matter.
Curved arrays like the UST-9120 see heavy abdominal duty, and the curved lens face takes the brunt of it – delamination and membrane wear typically show up before element failures do.
Common failure modes for the UST-9120
Match what you are seeing against the table below. The right-hand column reflects how faults of this kind typically assess – the actual verdict always depends on the individual probe.
| What you see | Likely cause | Typically repairable? |
|---|---|---|
| Strain relief separated, split or stiff | Cable flex fatigue at the probe or connector end | Usually repairable |
| Cable jacket cracked, wrinkled or discolored | Surface jacket wear – the conductors inside are often still good | Usually repairable |
| Bent, broken or corroded connector pins | Mechanical damage from forcing or dropping the connector | Usually repairable |
| Image cuts out when the cable is flexed | One or more conductors broken inside the cable bundle | Case by case |
| Grainy, low-detail image even after presets are checked | Lens wear or early element degradation | Case by case |
| Depth performance clearly below what this probe used to deliver | Reduced acoustic output from element ageing or a delaminating lens | Case by case |
| Dark bands or dropout lines in the image | Element dropout, or a conductor break inside the cable | Case by case |
Check these before you ship the probe
- Photograph the complete manufacturer label – the exact revision matters for parts compatibility.
- Inspect the lens face under good light for cuts, bubbles, lifting edges or discoloration.
- Check the strain reliefs at both ends for splits, stiffness or separation from the cable.
- Run the system’s built-in probe test or element check if your console provides one.
- Compare penetration and uniformity against a known-good probe on the same preset.
Repair, exchange or replace — which applies to your UST-9120
Repair suits the UST-9120 when damage is mechanical or confined – lens membrane, strain relief, cable jacket, connector hardware. Once element dropout spreads across large sections of the array, repair cost climbs toward replacement value and stops making sense. If uptime is critical, ask about exchange options while your probe is assessed.
What we need to quote your UST-9120 repair
- A clear photo of the complete manufacturer and model label on the probe
- A description of the fault: what you see on screen and when it started
- The ultrasound system (console) the probe is used with
- Screenshots or photos of the image problem, if the fault is visual
- Photos of any physical damage – lens, housing, cable or connector
Product imagery on this page is representative of the UST-9120 probe family and is not a photograph of your specific unit. This page does not claim OEM authorization or universal compatibility. Repair feasibility, turnaround and commercial terms are confirmed in writing after assessment of the actual probe.